Importing Grades to Brightspace
Brightspace Grade Import File Formatting:
- Brightspace grade imports require a specific file format and extension. First, ensure that the grade file is saved with the ".csv" extension. You can do so by selecting the "File" -> "Save as" option in editors such as Microsoft Excel. You may receive a warning when doing so, and selecting "Yes" will allow you to edit the file.
- Next, each of the columns must follow a specific naming convention. There are three types of columns available in the grade import file:
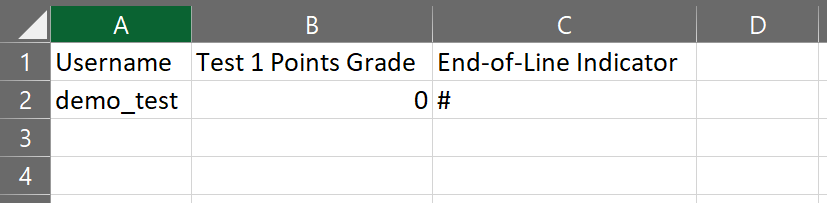
- Identifying information: These columns must appear first in the file. They can store student identifying information, either username or Org Defined ID.
- Grade information: Each of the grade columns should include the grade item name followed by the value type. For example, if the score is numeric, the value type is "Points Grade". A grade item named Test 1 would have the full column name of "Test 1 Points Grade".
- End-of-Line: The last column must be named "End-of-Line Indicator". This will be used by Brightspace to determine when to move to the next row.
- You can include as many score columns as necessary.
Creating the Grade Items
- Before generating the export files, create grade items for all the assignments that will be imported. This will simplify the import process and reduce the risk of errors.
- First, navigate to "Grades" -> "Manage Grades".
- Select the "New" button.
- Name the Grade item for the assignment.
- Set the Grade Item settings as appropriate, these options will depend on your specific gradebook configuration.
- Repeat this process for every grade item!
- After all the Grade Items have been created, navigate to "Grades" -> "Enter Grades". Select the "Export" button:
- Select the Key field you wish to use to identify students. Typically, "Username" is sufficient.
- Select the "Points Grade" option under Grade Values.
- Select any other identifying information you'd like to have available for each student.
- Lastly, select each of the grade items you need to import.
- Once the settings are configured as you need, select "Export to CSV". The column names may include additional information about the grade item, such as the maximum point value, as comments enclosed in angle brackets <>. You can leave these comments in or delete them, it will not affect the import.
- This process will generate a pre-formatted file ready for you to enter grades.
Uploading the Grade File:
- Navigate to "Grades" -> "Enter Grades". Select the "Import" button:
- Upload the file with the grades in it.
- It will not be necessary to select the checkbox to create unrecognized grade items, as the column names should match up to existing items. If you created additional columns, you can check this box.
- Select "Continue".
- The error list should be empty. See the next section on resolving potential errors if it is not.
- The next page will list a preview of all the changes. If they appear correct, select "Import" to complete the process.
Verifying Results:
- On the review page, each of the grade items will be listed in a column with the before and after values in the following format:
[Before] -> [After]
- You can use this data to ensure the scores were matched to each individual student properly and were interpreted accurately.
Resolving Errors:
- You may encounter an error when uploading the file:
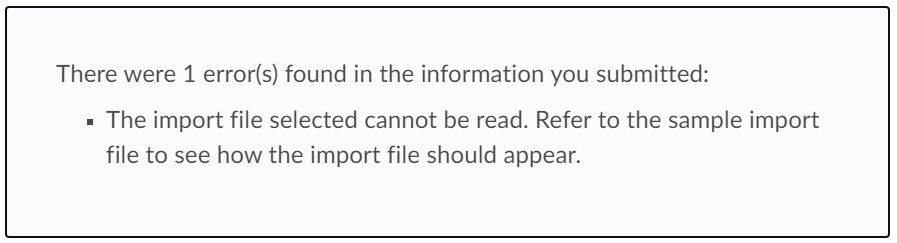
- Typically, this will occur due to a file formatting issue. You can resolve it in the following ways:
- Verifying the columns are named appropriately.
- Verifying the End-of-Line Indicator column is the last column in the file.
- Verifying the data in the rows matches the column type.
- The most common issue is an extra column in the file, after the End-of-Line Indicator. Spreadsheet editors may not display the column. To verify it does not exist, you can open the csv in a text editor such as notepad. If there is a comma following the End-of-Line Indicator, there is an additional column in the file. You can delete it in the spreadsheet editor or notepad.

Last Updated: Jul 11, 2025 11:45 AM