Kaltura
What is Kaltura?
Kaltura allows faculty to upload and distribute videos that can be viewed by students on a variety of platforms. Videos may be uploaded through MediaSpace, Brightspace, WebEx, SharePoint, or VideoExpress. Videos may be distributed by integrations with Brightspace and SharePoint, or by embedding a video into a website.
Quick Links:
Uploading Kaltura Content via Brightspace
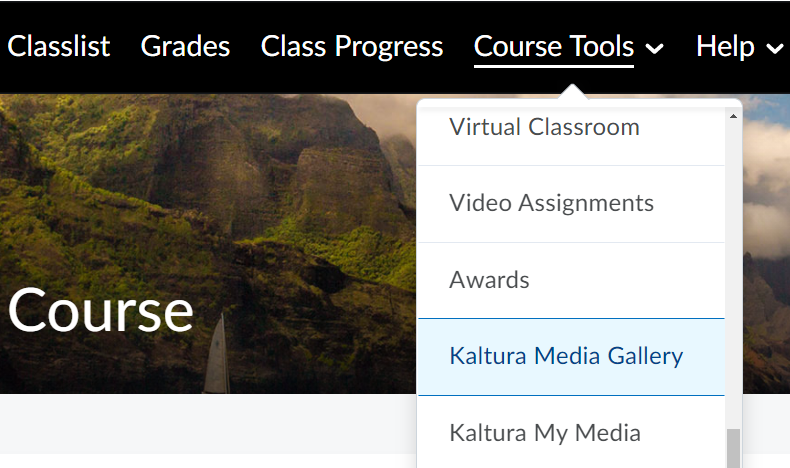
- In your Brightspace course, use the toobar to open the Course Tools and select "Kaltura Media Gallery":
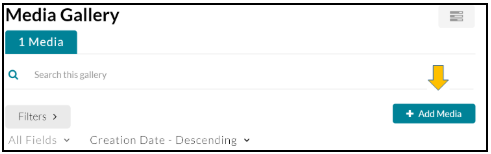
- All of your course's current media will be displayed. To add a new file, select “+ Add Media”:
- You can select to add media that has already been uploaded to Kaltura. “My Media” refers to files you personally own. “Shared Repository” refers to files to which you have access.
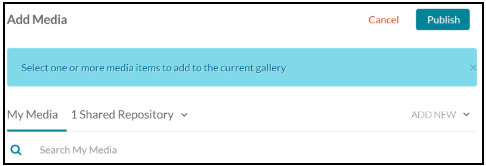
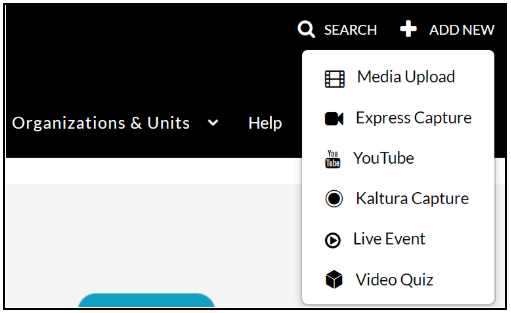
- To add a new file to Kaltura, select “Add New”:

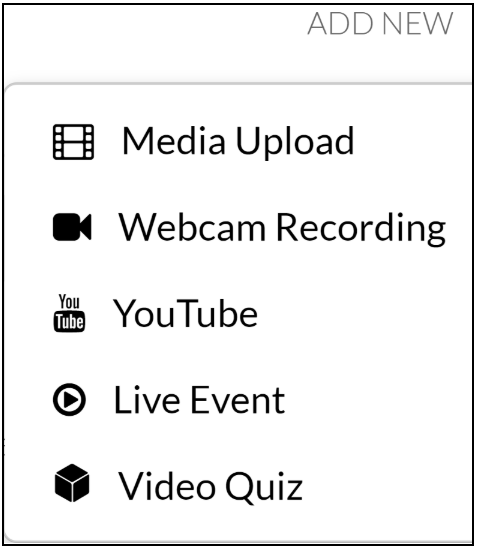
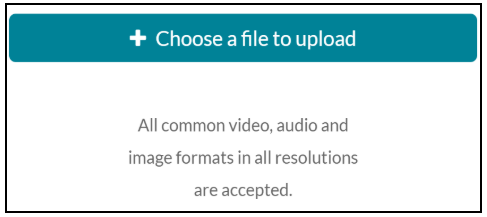
- You can choose to add a new file, record from a webcam, link a YouTube, etc. To upload a file, select “Media Upload”:
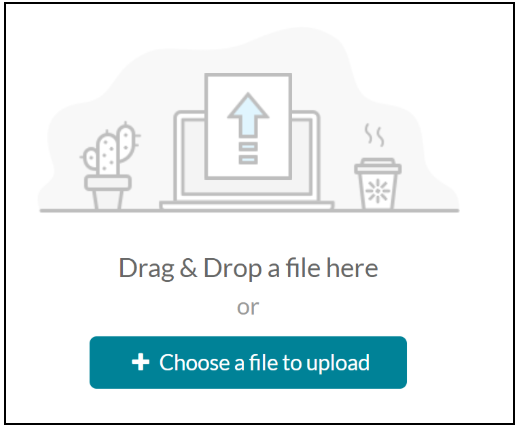
- Select the file you wish to upload:
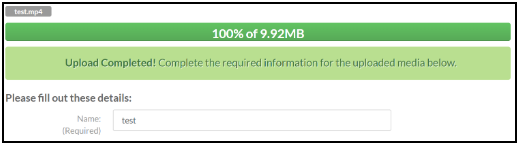
- Once the file finishes uploading, you can add the name (defaults to the file name), description, and tags.
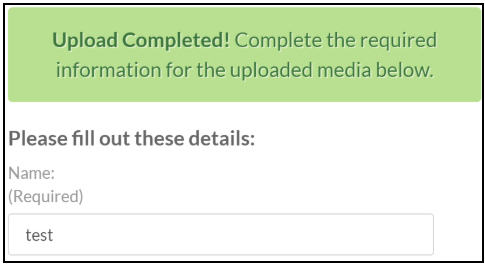
- Select “Save” when you are finished:

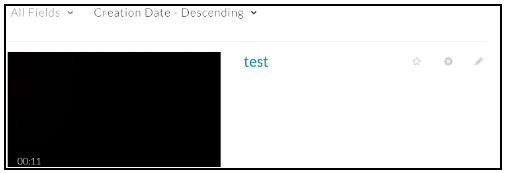
- The file has been uploaded successfully. You can return to the Media Gallery to verify it is present.

- The new video will be visible:
- Your file is automatically published and will be visible to students.
Uploading Kaltura Content via MediaSpace
(https://mediaspace.itap.purdue.edu/)
- Access MediaSpace at the link above.
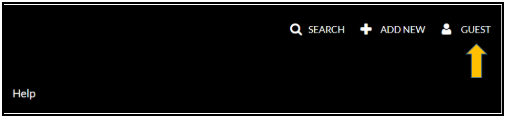
- Log in by selecting the “Guest” icon in the top right.
- After logging in, select “Add New” and then “Media Upload”.
- Upload the file:
- After uploading, you will be able to add a name, description, and any relevant tags.
- You will also be able to decide how it is published. Private is only visible to you, unlisted is visible to anyone with a link (no login required), and published is listed in the Kaltura catalog:
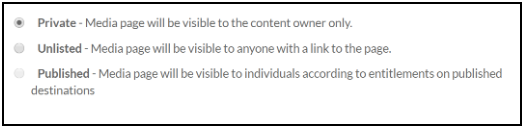
- Note: These settings are for MediaSpace only. You can set the video to private here and then link it to your Brightspace course from the Kaltura Media Gallery to be visible to your students only.
- Save the file, then select “Go To My Media”:

- The file will now be listed in your media. Select the title to go to its page:
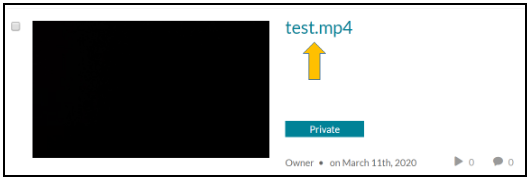
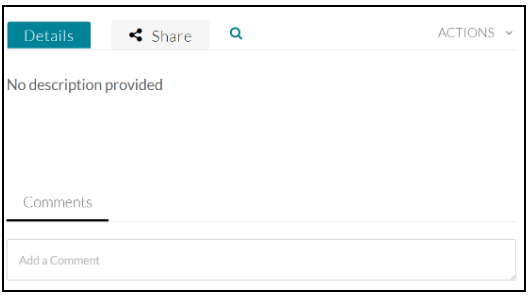
- Here, you can see the description (optional) and any comments on the video:
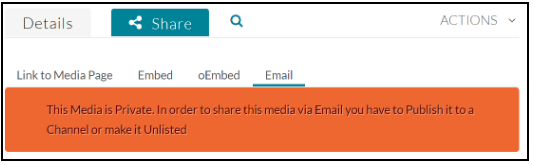
- Select the “Share” tab to see a variety of sharing methods. Note that private videos cannot be emailed. Embedding a video automatically makes it public.
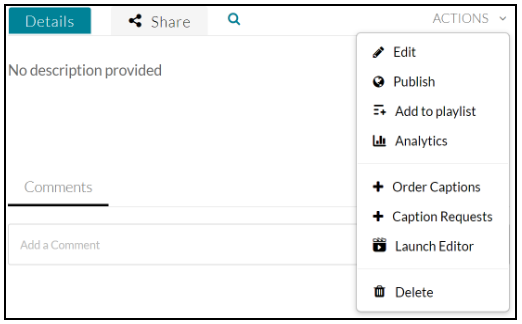
- The Actions Drop-down menu allows for a variety of actions, including editing the file details, changing the publishing settings, and opening a web-based video editor.
- To link the uploaded video to Brightspace, open Brightspace and go to the Media Gallery (see the Brightspace guide steps 1-4). After selecting “Add Media,” select the file you wish to share with your students from “My Media,” by checking the box.
Select the publish button near the top of the page:

The file will now be available to your students.
Recording Content via Kaltura Capture
(https://mediaspace.itap.purdue.edu/)
- Access MediaSpace at the link above.
- Log in by selecting the “Guest” icon in the top right.
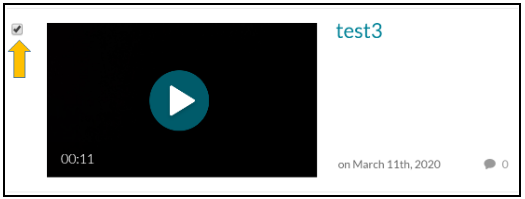
- After logging in, select “Add New” and then “Kaltura Capture.”
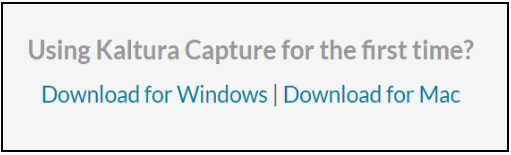
- Download the Kaltura Capture plug in.
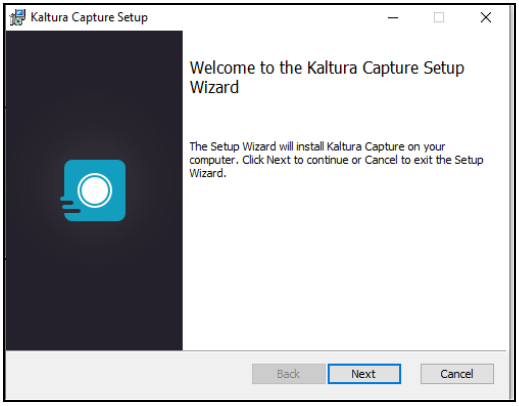
- Run the setup wizard:
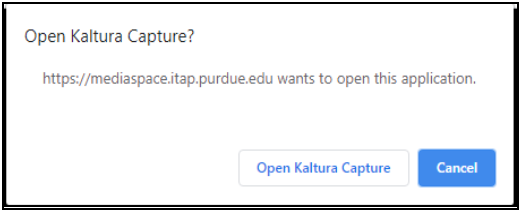
- Return to MediaSpace and refresh the page. You will likely receive a prompt like the one shown, select “Open Kaltura Capture”:
- The Kaltura Capture interface should appear:
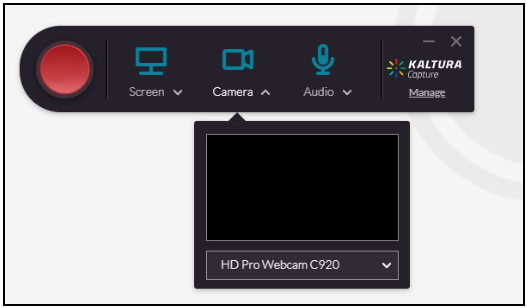
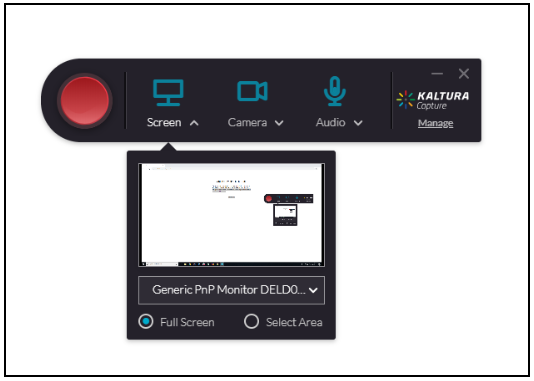
- You can configure a variety of settings from the interface. You can select which monitor you’d like to record from, as well as designating the area being recorded.
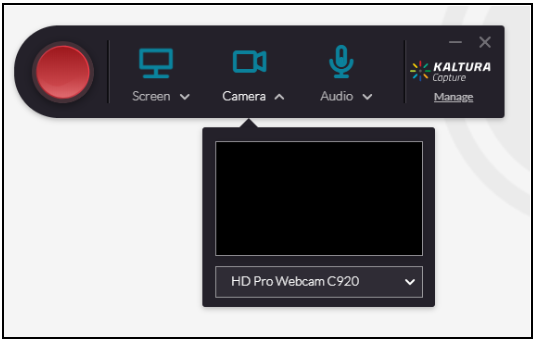
- You can select the camera and audio settings as well:
- If you select “Manage,” you will be able to access previous recordings. If you don’t have any, this area will be blank:
- You can also configure settings:
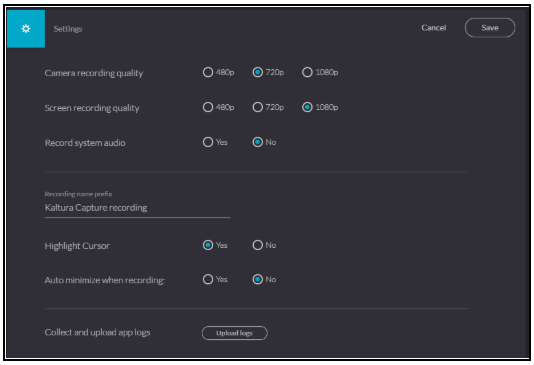
- Clicking on any of the icons directly will disable them or enable them. When you are ready to record, select the “Start Recording” button:

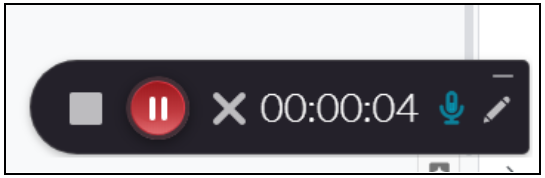
- A timer will countdown and a new interface will launch in the bottom right of your screen. From here, you can choose to stop and save the recording, pause the recording, or cancel and delete the recording:
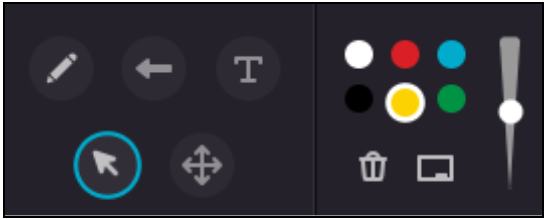
- If you select the pencil icon, you will be able to use a variety of presentation tools during the screen recording. For example, drawing over the screen or launching a whiteboard to record notes.
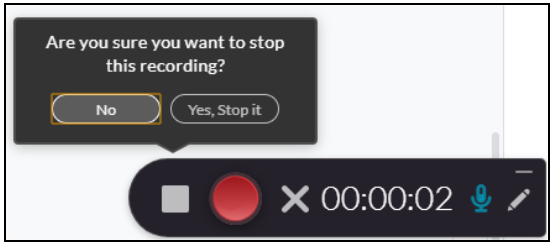
- When you are finished recording, select the “Stop Recording” button and then select “Yes, Stop it.”
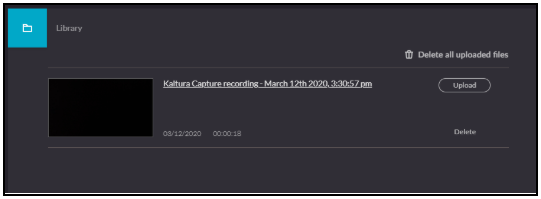
- You will return to the library interface, where you can save the file locally or upload it directly to MediaSpace.
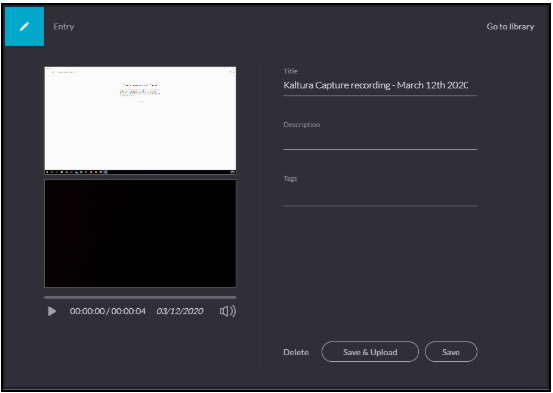
- Once the file is in MediaSpace, you can link it to your course Brightspace or publish it to the web for your students.
Last Updated: Jun 27, 2023 4:39 PM